
Last updated October 30, 2026
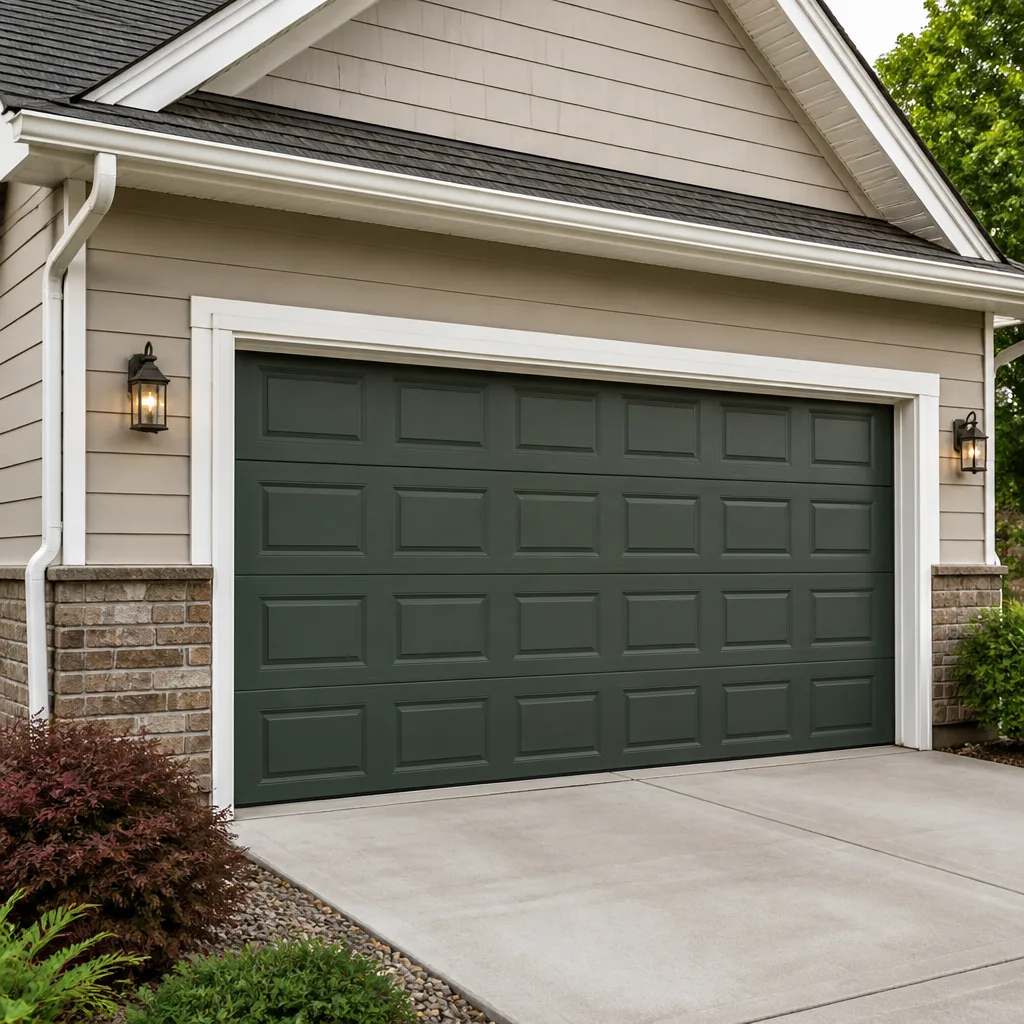 Raised-panel steel
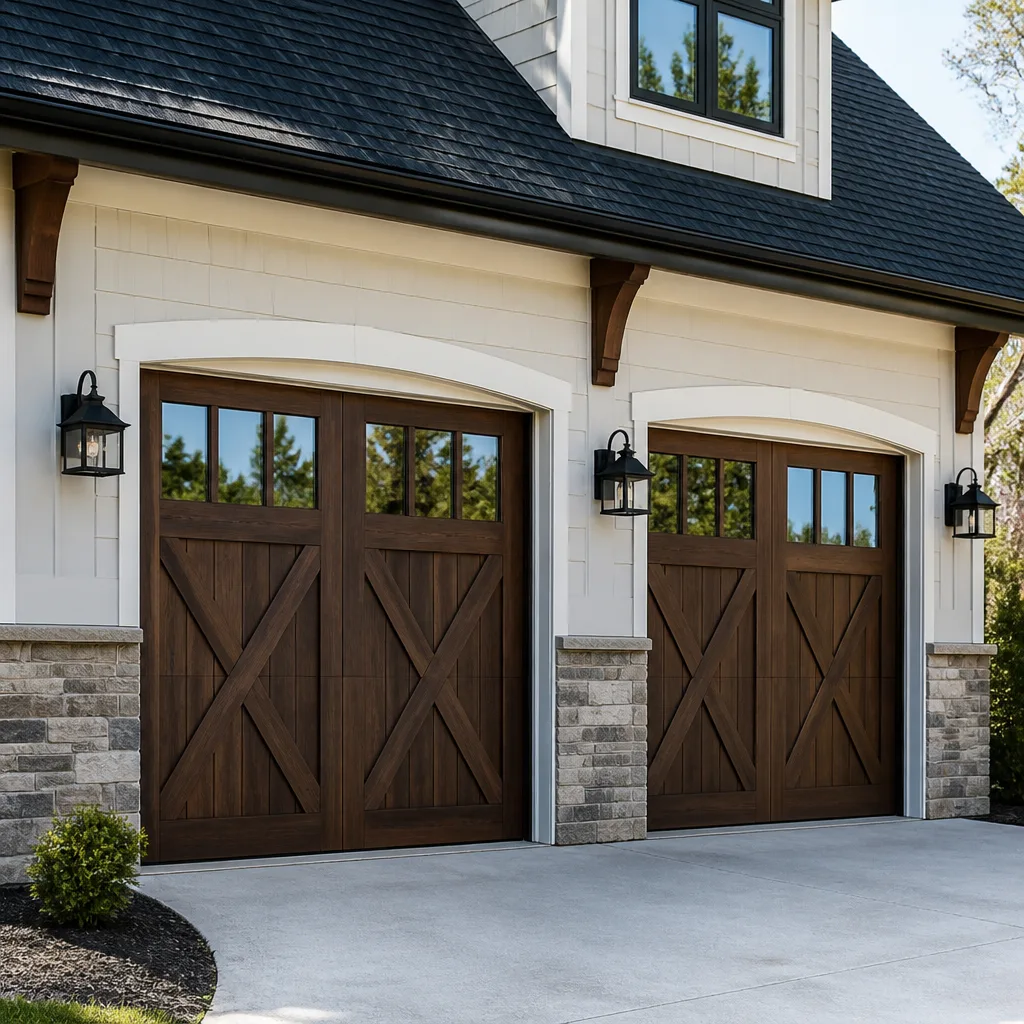 Carriage house
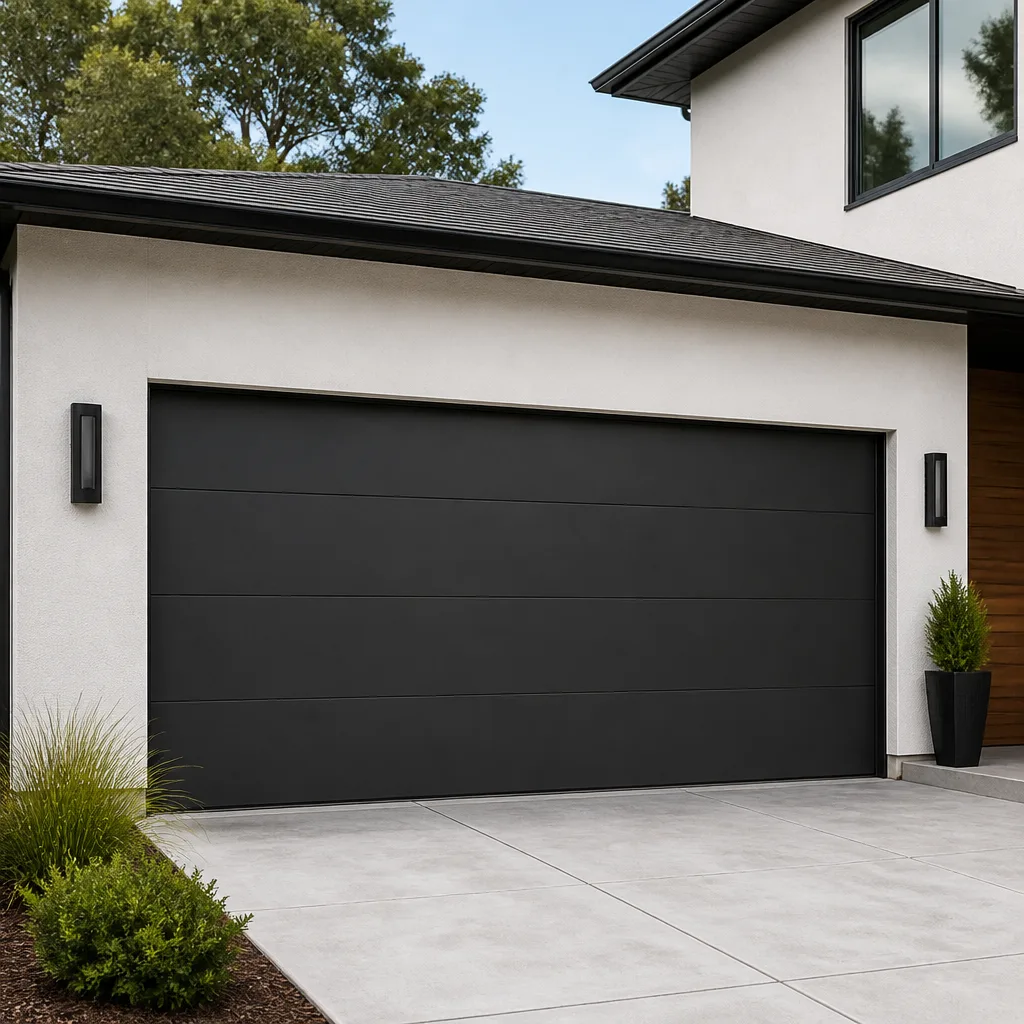 Modern flush
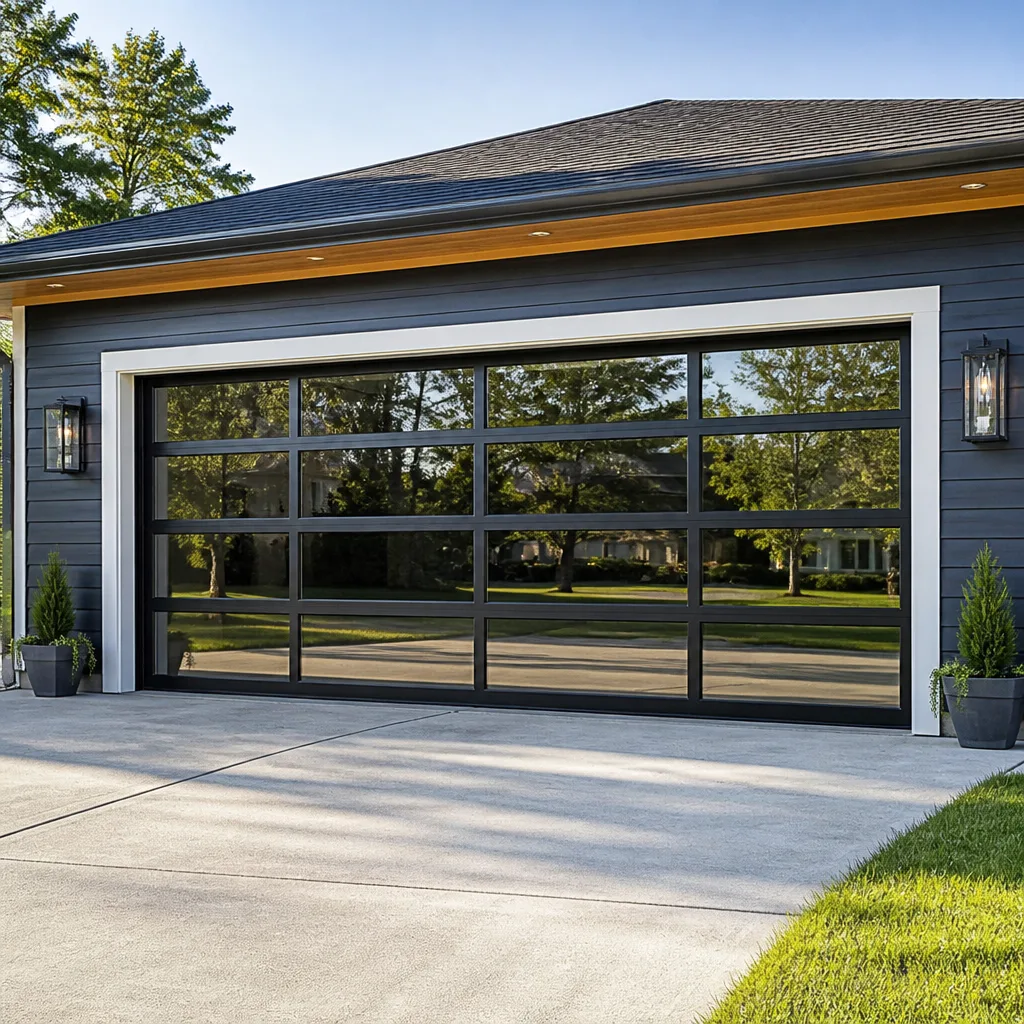 Full-view glass
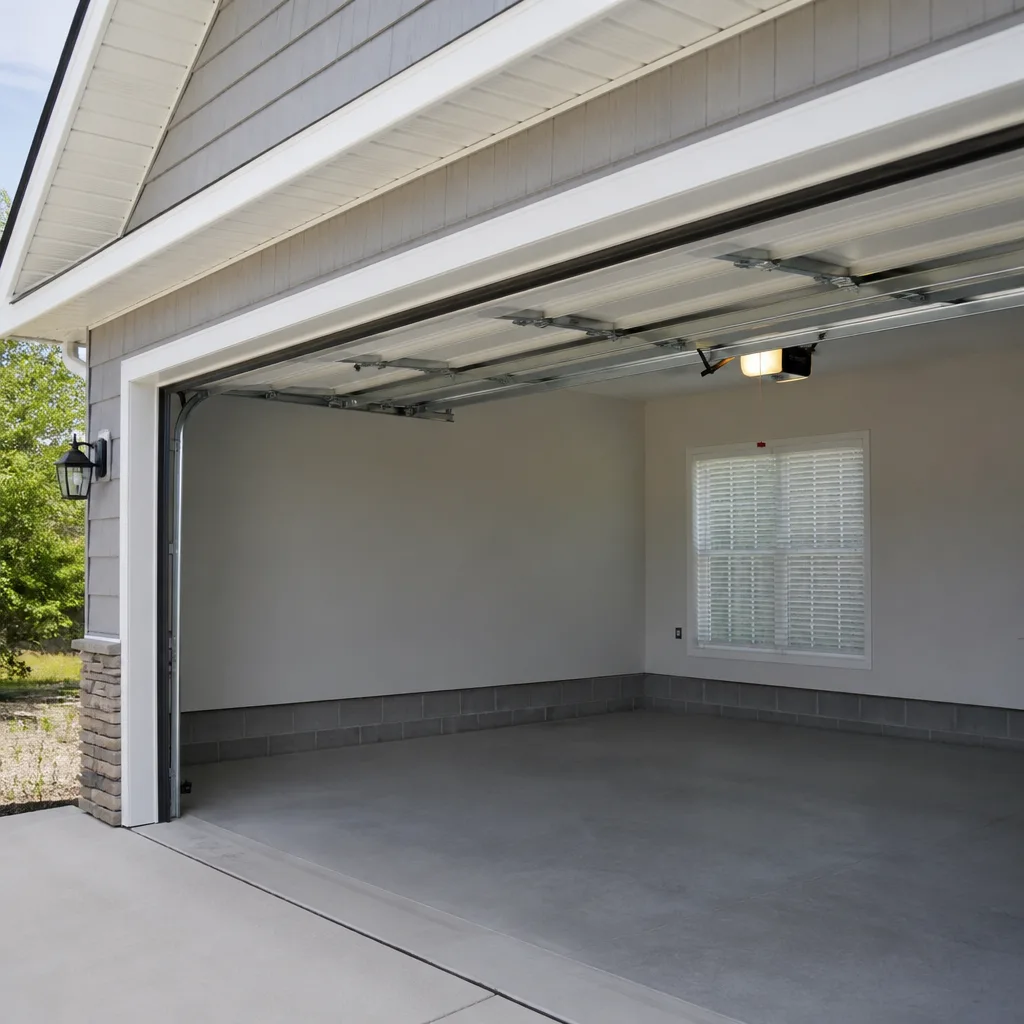 LiftMaster openers
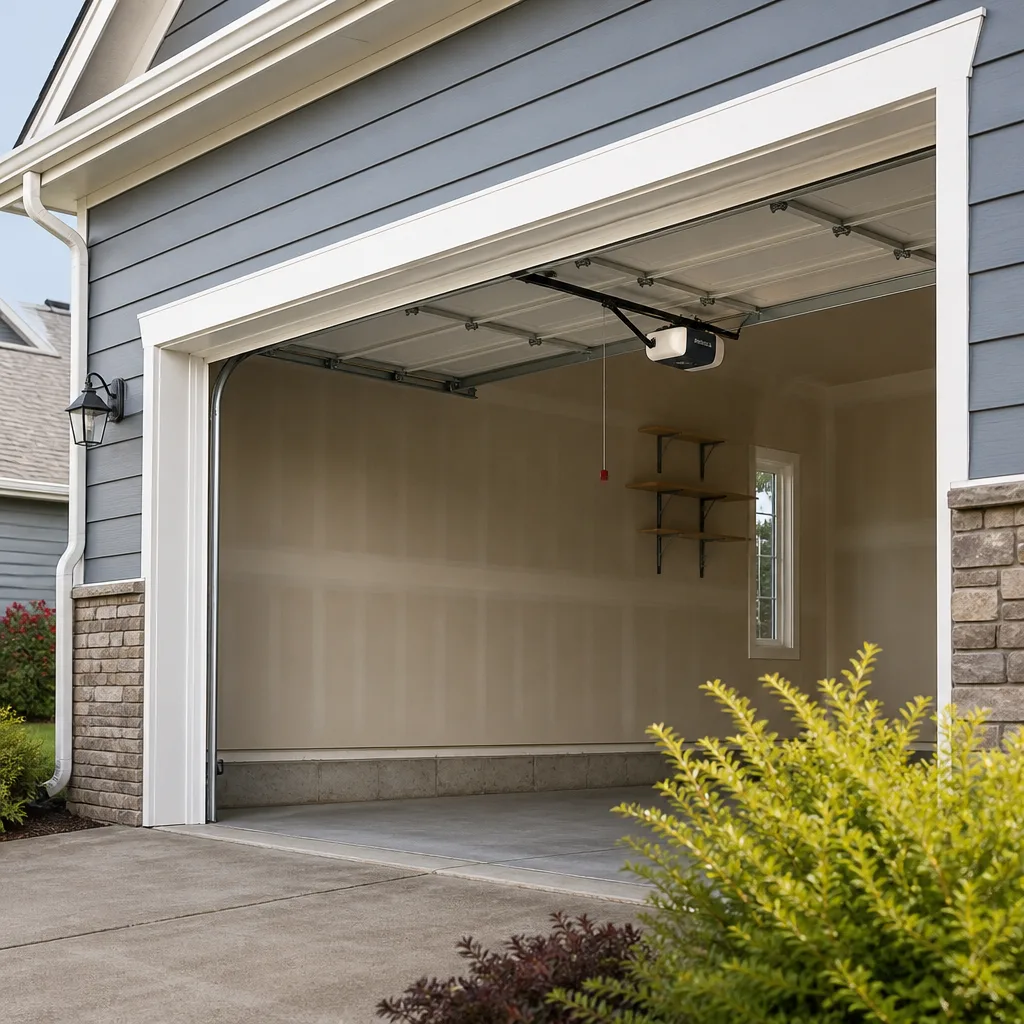 Chamberlain openers
Full 25-point door and opener safety check with every visit - springs, cables, rollers, tracks, and your LiftMaster or Chamberlain opener included
You get a price before we start. It does not change when the truck arrives.
Get your free estimateGarage Door Repair Troubleshooting: Common Problems and How to Fix Them
A garage door that reverses before hitting the ground is not automatically a sensor problem, but that’s the first thing most homeowners in Lakeland replace. Half the time, it’s a limit-switch setting that takes 90 seconds to adjust. This guide will walk you through the diagnostic logic most troubleshooting articles skip: how to trace a symptom back to its actual cause, in the right order, so you stop buying parts you don’t need. You’ll learn how to isolate noise, test an opener before blaming the door, and recognize the three situations where you should put the tools down and call someone who does this every day.
Styles & brands we work with
Quick Answer
Garage door repair troubleshooting means working through three zones in order: the opener and its settings, the hardware (springs, cables, rollers, hinges), and finally the door panel and track alignment itself. Most common failures in Lakeland homes trace back to one of five causes: misaligned photo-eyes, incorrect limit switches, dead opener capacitors or gears, worn rollers, or broken torsion springs. Start with the opener because it’s the fastest to test and the most commonly misdiagnosed, then move to hardware only after you’ve confirmed the opener is sending the signal.
Table of Contents
- The Decision Tree: Where to Start When Your Garage Door Acts Up
- Won’t Open vs. Won’t Stay Open: Two Different Problems Entirely
- Isolating a Noisy Door: Roller, Hinge, Spring, or Track?
- Common Misdiagnoses That Cost Homeowners Money
- Safety Stops: When Troubleshooting Must End
- Opener-Specific Troubleshooting: Smart, Belt-Drive, and Chain-Drive Systems
- Door Hardware Troubleshooting: Springs, Cables, Rollers, and Tracks
- Lakeland-Specific Factors: Heat, Humidity, and Hurricanes
- Common Mistakes to Avoid
- When to Call a Professional
- Frequently Asked Questions
- The Bottom Line
The Decision Tree: Where to Start When Your Garage Door Acts Up
Most people start at the door and work backward. That’s backwards. The opener is the brain of the system, and it’s also the component most likely to act up in ways that look like door problems. Here’s the sequence we use on every service call in Lakeland, and it works because each step eliminates the most common failures before you touch anything expensive.
- Confirm the opener has power and responds. Plug a lamp into the same outlet or check the breaker. If the opener hums but doesn’t move, you’ve already narrowed it to the motor, capacitor, or drive gear.
- Test the wall button and remotes separately. If the wall console works but remotes don’t, it’s a remote programming, battery, or receiver logic-board issue, not the door. If nothing responds, it’s the opener itself or its power source.
- Pull the emergency release cord. This disconnects the door from the opener carriage. Lift the door manually. If it’s heavy, unbalanced, or won’t stay up, the problem is in the door hardware (springs, cables, tracks). If it moves smoothly, the door is fine and the issue is in the opener.
- Check the photo-eyes. If the opener responds but reverses or refuses to close, look at the sensors mounted near the floor on each side of the door. Misalignment or a dirty lens is the single most common cause of a door that won’t close.
- Check the limit switches. If the door opens fine but reverses before fully closing, or closes but immediately reopens, the limit switches are mis-tuned. This is a 90-second fix on most LiftMaster and Chamberlain units, and it’s the step most guides skip.
This sequence matters because it prevents the most expensive mistake in garage door troubleshooting: replacing a working component because you misread where the failure lived. We’ve arrived at homes in Lakeland where a homeowner had already bought a new remote ($60) and a new logic board ($120) for what turned out to be a corroded wire at the wall button.
Won’t Open vs. Won’t Stay Open: Two Different Problems Entirely
These two symptoms sound similar but point to completely different failures. A door that won’t open usually means the opener is trying and failing, or not trying at all. A door that opens but won’t stay open almost always means the springs are failing or the door is out of balance.
The door won’t open
- Opener hums but door doesn’t move: The drive gear is stripped, the capacitor is dead, or the chain/belt has jumped off the sprocket. Common on older chain-drive units after years of Lakeland heat degrading the plastic gear.
- Opener runs but the door jerks and stops: The door is binding in the tracks or a roller has seized. The opener’s force-sensing circuit cuts power to prevent damage.
- No response at all: Power supply, thermal overload, or a dead logic board. Thermal overload is common in Lakeland garages that hit 100+ degrees in summer; let the motor cool for 20 minutes and test again.
The door opens but won’t stay open
- Door slams down or drifts down slowly: Torsion springs have lost tension or broken. This is a safety issue and needs a professional, not a DIY tension adjustment.
- Door opens partway, then reverses: The limit switch is incorrectly set, or the force-sensitivity adjustment is too low. Both are opener-setting fixes.
- Door opens fully, then drops a few inches before the opener holds it: The spring is borderline. It’s providing just enough tension to open the door but not enough to hold it against gravity. This is the warning sign before a full spring failure.
The key distinction: if the door moves smoothly by hand after pulling the release cord, your springs and hardware are probably fine and the issue is in the opener logic. If the door is heavy to lift or drops when released, you have a hardware problem that the opener was masking.
Isolating a Noisy Door: Roller, Hinge, Spring, or Track?
Noise is diagnostic information if you know how to listen. Each component makes a distinct sound, and you can pinpoint the source without taking anything apart. Stand inside the garage with the door closed, then open it manually using the release cord. Listen as it travels.
- Metal-on-metal grinding or squealing from the sides: Rollers are worn. Nylon rollers quiet down over time; steel rollers get louder. If the roller wheel is chipped or flattened, replace it.
- Clicking or popping at each panel joint as the door rounds the track curve: Hinges are binding or loose. Tighten the fasteners first; if the hinge pin is worn, it’ll need replacement.
- Creaking or groaning from the center bar above the door: The torsion spring is binding or the bearings in the spring assembly are dry. Spray a small amount of garage-door-specific lubricant on the spring. If the noise persists, the spring is approaching the end of its life.
- Rattling or thumping from the track itself: Track bolts have loosened, or the track is misaligned so slightly that the rollers are bouncing against it. Tighten and check alignment with a level.
- Chattering or flapping from the opener chain: The chain is loose and slapping the rail. This is a tension adjustment on the opener, not a door problem.
In our experience, 80% of garage door noise complaints in Lakeland are worn rollers or dry hinges. The fix is usually under $40 in parts and 20 minutes of work. The other 20% is springs, and those are not a DIY repair.
Common Misdiagnoses That Cost Homeowners Money
A misdiagnosis doesn’t just waste money on parts, it wastes time. Here are four we see regularly in Lakeland, along with how to tell the difference.
Photo-eye vs. limit switch
Both can cause a door that reverses, but they’re different failures. A photo-eye issue means the door reverses immediately or won’t close at all, and the sensors usually blink or have a red light. A limit-switch issue means the door travels most of the way down, then reverses before or just after touching the ground. Photo-eyes are near the floor; limit switches are inside the opener. Before replacing photo-eyes, clean the lenses, check the alignment, and make sure direct sunlight isn’t hitting the receiver. Lakeland afternoon sun can wash out older sensor systems.
Broken spring vs. stripped gear
A broken torsion spring makes a loud bang and the door won’t lift, even manually. A stripped opener gear makes the motor run but the door stays put, while the door lifts fine manually once you pull the release cord. If the door is heavy in your hands, it’s the spring. If the door moves freely by hand but not under opener power, it’s the gear. We’ve seen homeowners order a new opener for $350 when the fix was a $40 gear kit.
Dead remote vs. faulty logic board
If one remote stopped working but the other remote or wall button still opens the door, it’s the remote: battery, programming, or physical damage. If neither remote works but the wall button does, it’s the receiver on the logic board or a programming issue. Before replacing a logic board, try reprogramming the remotes using the “learn” button. On LiftMaster and Chamberlain units, a failed logic board will also lose its travel limits, forcing the door to re-learn its open and close positions every time.
Worn rollers vs. bent track
A door that scrapes or binds usually means one of two things. Worn rollers make the door sag and drag on one side, leaving visible wear on the roller edges. A bent track makes a distinct pop or clunk at one specific point in the travel, every time, at the same spot. If the noise is consistent regardless of door position, it’s the rollers. If it’s localized to one point, it’s the track.
Safety Stops: When Troubleshooting Must End
There are three situations where the correct troubleshooting step is to stop and call a technician. These involve components under dangerous tension or loads that can cause serious injury.
- A torsion spring has broken. You’ll hear a loud bang and find a visible gap in the spring above the door. These springs are wound under extreme tension. A mishandled torsion spring release can break bones or worse. This is not a DIY repair, period.
- A lift cable has snapped or is fraying. The cables work with the springs to lift and lower the door safely. If one has snapped, the door can drop suddenly or whip the cable. If you see frayed strands or a broken cable, close the door if you safely can and call us.
- The door has come off its track or the track is visibly bent. A door that’s partially off its track can fall unexpectedly. Attempting to force it back into place while the springs are still tensioned is dangerous. The door needs to be safely secured before any work begins.
If you’ve hit any of these three, stop testing and call. A trained technician with the right tools and winding bars will make the repair safely.
Opener-Specific Troubleshooting: Smart, Belt-Drive, and Chain-Drive Systems
Openers have become more complex, and the failure patterns are different depending on the drive type and the brand. Stonebridge works on eight major brands including LiftMaster, Chamberlain, Genie, Clopay, Amarr, Wayne Dalton, Craftsman, and Raynor, which means we see the full range of what’s in Lakeland garages. Here’s what to check before you call.
Smart openers (Wi-Fi connected)
- App says “offline” but wall button works: The opener’s Wi-Fi module may have lost its connection after a power flicker or router reboot. Power-cycle the opener, check your router’s 2.4GHz band is active, and re-pair the opener to your network. This is the most common smart-opener service call we make.
- App reports “interrupted” after a normal close: The photo-eye connection is dirty or loose. The opener logged a safety reverse and reported it to the app.
- Smart features work but the door won’t move: The motor control board is failing. This is repairable on many LiftMaster and Chamberlain units without replacing the entire opener.
Belt-drive openers
- Grinding or squealing from the motor head: The drive gear inside the motor housing is wearing. Belt-drive openers are quiet by design; any metallic grinding from the head is a gear issue, not normal operation.
- Belt slipping or skipping: The belt tension needs adjustment. A loose belt will skip teeth and cause the door to stutter mid-travel.
Chain-drive openers
- Rattling chain and uneven door travel: The chain has stretched and needs tensioning. This is normal wear over several years of Lakeland heat cycles.
- Loud bang followed by motor running without door movement: The chain may have snapped or derailed. Pull the emergency release and check the rail.
The opener is the part of the system homeowners interact with most, which means it’s also the part most often blamed for problems that start elsewhere. Pull the release cord early in your troubleshooting. It’s the fastest way to separate opener problems from door problems. For a deeper look at opener-specific issues, see our guide to Garage Door Opener Repair in Dade City.
Door Hardware Troubleshooting: Springs, Cables, Rollers, and Tracks
Once you’ve confirmed the opener is functioning and the door moves manually, hardware troubleshooting is about looking for wear patterns and alignment issues. Here’s the order we follow. It’s based on what fails most often in Lakeland’s climate: heat degrades springs faster, and humidity corrodes rollers and hinges.
- Check the springs. Look for a gap in the torsion spring above the door (broken), or visible sagging on extension springs. Rust on torsion springs is normal but not a failure by itself. If the door is heavy to lift, the spring is failing even if it looks intact.
- Inspect the cables. Look for fraying, kinks, or slack. Cables should be taut when the door is closed. A slack cable means the spring has lost tension or the drum has slipped.
- Examine the rollers. Look for flat spots, chips, or cracks in nylon rollers, or excessive play in steel rollers. Worn rollers are the leading cause of noisy doors and also of uneven travel.
- Check the hinges. Look for loose bolts, elongated holes, or cracked hinge plates. A loose hinge will make the door flex at that panel joint, which eventually damages the panel itself.
- Verify track alignment. Use a level on both vertical and horizontal track sections. A track that’s out of plumb by more than a quarter inch will cause binding, especially as the door enters the curve.
If the hardware checks out but the door still doesn’t operate correctly, the door panel itself may be warped or out of square. This is more common on older doors that have been hit by a car bumper or warped by years of direct sun. In that case, you’re looking at a door replacement conversation rather than a repair. For full details on replacement options, start with Garage Door Installation in Dade City.
Lakeland-Specific Factors: Heat, Humidity, and Hurricanes
Lakeland’s climate does specific things to garage door systems that homeowners in other regions don’t deal with. Understanding these patterns helps you spot problems before they become failures.
Heat and torsion springs: High temperatures accelerate metal fatigue. Torsion springs in Lakeland attics and garage ceilings deal with summer temps that routinely hit 120+ degrees in enclosed garage spaces. A spring rated for 10,000 cycles may deliver 7,000 in our climate. If you hear a loud bang from the garage, that’s a spring, and it’s the most common repair we perform across Lakeland.
Humidity and rollers: Metal rollers and hinge pins rust faster in Florida humidity. Nylon rollers are the better choice here, but even nylon rollers can fail if the bearing inside corrodes. If your rollers are more than 5-7 years old and getting louder, replacement is usually the answer.
Storm season and door reinforcement: Hurricane-rated doors and reinforcement struts are common in newer Lakeland homes. If your door has a reinforcement strut but you notice it’s loose or the door flexes during high wind, the strut fasteners need attention. A door that flexes under pressure will eventually bind in its tracks.
Sun and photo-eyes: Direct afternoon sun hitting a photo-eye receiver can wash out the signal, causing random reversals. If your door reverses at the same time of day, this is likely the cause. Shading the sensor or adjusting its angle usually resolves it.
Common Mistakes to Avoid
- Replacing the photo-eyes before cleaning or aligning them. Dirty or misaligned sensors account for more “failed” photo-eyes than actual component failure. A five-minute cleaning fixes most of them.
- Adjusting the springs yourself. Torsion springs are under hundreds of pounds of tension. A slip with an improvised winding bar is a hospital trip. Never touch spring hardware without the correct tools and training.
- Lubricating everything with WD-40. WD-40 is a solvent, not a lubricant for garage door hardware. It strips the protective film from surfaces and leaves them dry. Use a silicone- or lithium-based garage-door lubricant on rollers, hinges, and springs.
- Assuming the remote is dead when the logic board is the problem. If both remotes fail simultaneously, the issue is almost never two dead remotes. Check the receiver and programming before ordering new ones.
- Forcing a door that’s binding. If the door stops mid-travel or jerks, don’t override the opener’s safety settings and force it to move. You’ll damage the door, the opener, or both. Find the bind first.
- Ignoring a door that’s getting louder. Noise is early warning. A door that’s gradually louder over months is telling you a roller or hinge is failing. Ignore it and the failure will be worse and more expensive.
- Replacing the whole opener when a part fails. Many opener issues, from gears to capacitors to logic boards, are repairable for a fraction of replacement cost. We diagnose first, recommend second. If the opener can be repaired safely and reliably, we’ll tell you that.
When to Call a Professional
Call a professional when you’ve hit a broken spring, a snapped or frayed cable, a door off its track, or an opener that’s failed after you’ve confirmed power and verified the remotes. Also call if you’ve gone through the troubleshooting steps and the problem persists. A second set of trained eyes is cheaper than throwing parts at a guess. Stonebridge Garage Door Repair offers free estimates in Lakeland. Call (833) 589-8630 and we’ll walk you through what we’re seeing before we even schedule the visit.
Frequently Asked Questions
Most of the time, this is a limit-switch setting issue, not a photo-eye problem. The opener’s close limit is set too high, so the door thinks it’s reached the floor before it actually has. On most LiftMaster and Chamberlain openers in use across Lakeland, you adjust this with the limit controls on the opener body. If the door reverses at the same spot every time, it’s the limit switch. If it reverses randomly, check the photo-eyes for dirt or sun glare.
A grinding noise that follows the door’s travel is usually worn rollers or dry hinges. A grinding noise from the opener head while the door isn’t moving is a stripped drive gear inside the opener motor. The springs make a creaking or groaning sound, not a grind. Lubricate the rollers and hinges first; if the grind persists, inspect the rollers for flat spots.
No. Torsion springs are under extreme tension even when the door is closed, and releasing that tension without the correct winding bars and training can cause serious injury or death. This is one of the three situations where troubleshooting must stop. Call a professional who carries the right equipment and knows the spring’s cycle rating and wire gauge.
If the motor runs but the door doesn’t move, the drive gear may be stripped, which is repairable on many models. If the opener is more than 15 years old and lacks safety features like auto-reverse, replacement is the right call. Most openers from the last decade, including LiftMaster, Chamberlain, Genie, and Craftsman units, are worth repairing if the failure is isolated to one part. We diagnose first and recommend a replacement only when repair isn’t safe or cost-effective.
Intermittent operation usually points to a loose wire connection, a failing capacitor, or thermal overload in hot garages. If it stops working after the garage has been hot for hours, the opener is likely overheating and tripping its thermal protection. If it’s random, check the wiring at the wall button and photo-eyes for loose or corroded connections.
Stonebridge Garage Door Repair services eight of the most-installed residential brands: LiftMaster, Chamberlain, Genie, Clopay, Amarr, Wayne Dalton, Craftsman, and Raynor. That covers the vast majority of systems in Lakeland homes. We’re brand-agnostic, which means we troubleshoot what’s actually installed rather than steering you toward a replacement from a preferred product line. See our Stonebridge Garage Door Repair home page for the full scope of what we handle.
For more detail on what a repair visit includes and what to expect, our Garage Door Repair in Dade City page covers the service area and repair process step by step.
The Bottom Line
Troubleshooting a garage door isn’t about memorizing a checklist, it’s about following the logic from symptom to source. Test the opener first, because it’s the fastest elimination step. Separate the door’s movement from the opener’s behavior with the release cord. Listen to the noise and locate it before buying parts. And know which three failures mean stop and call. Most garage door issues in Lakeland are repairable for less than the cost of a misdiagnosed replacement part, but only if you diagnose the actual problem first. When in doubt, call us at (833) 589-8630 for a free estimate. We’ll tell you what we find, what it costs to fix, and whether repair is the right call before any work begins.
Written by the team at Stonebridge Garage Door Repair, serving Lakeland since 2015.
See the difference
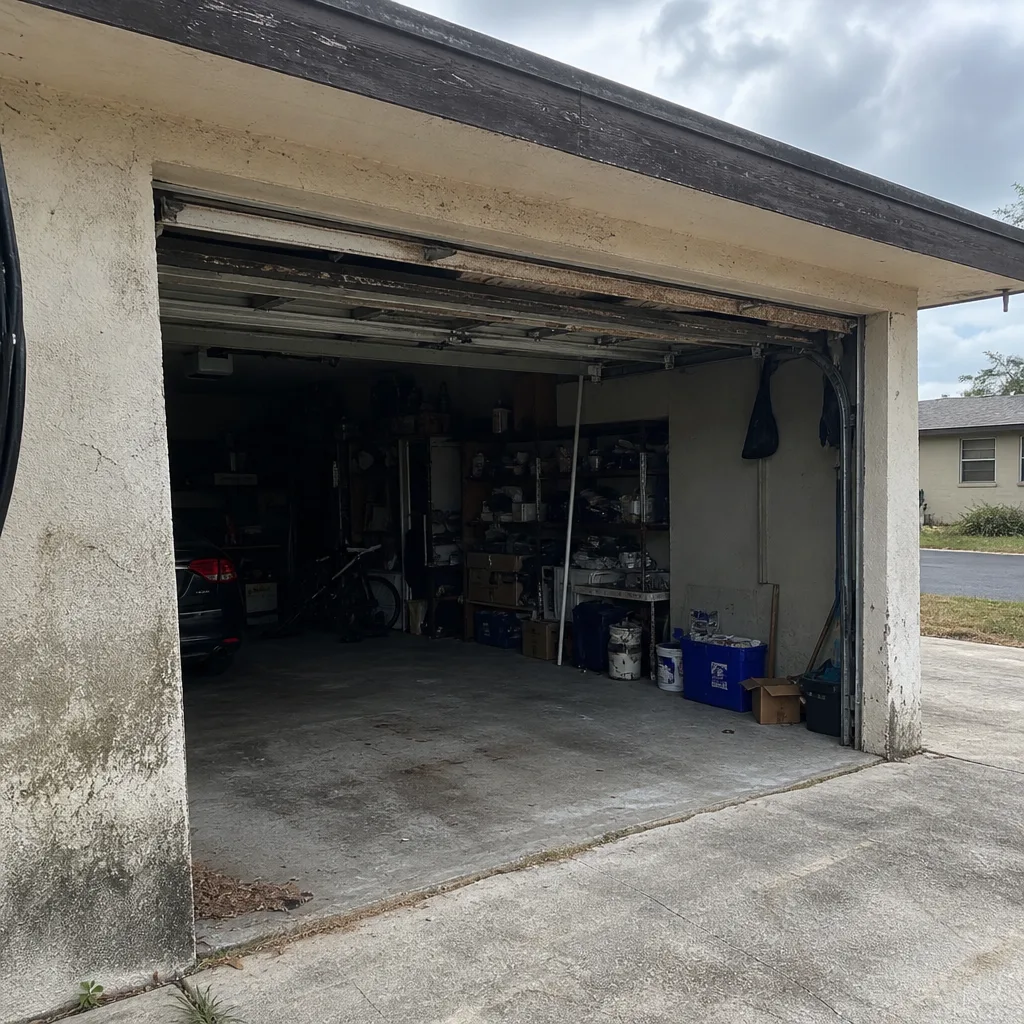 Before
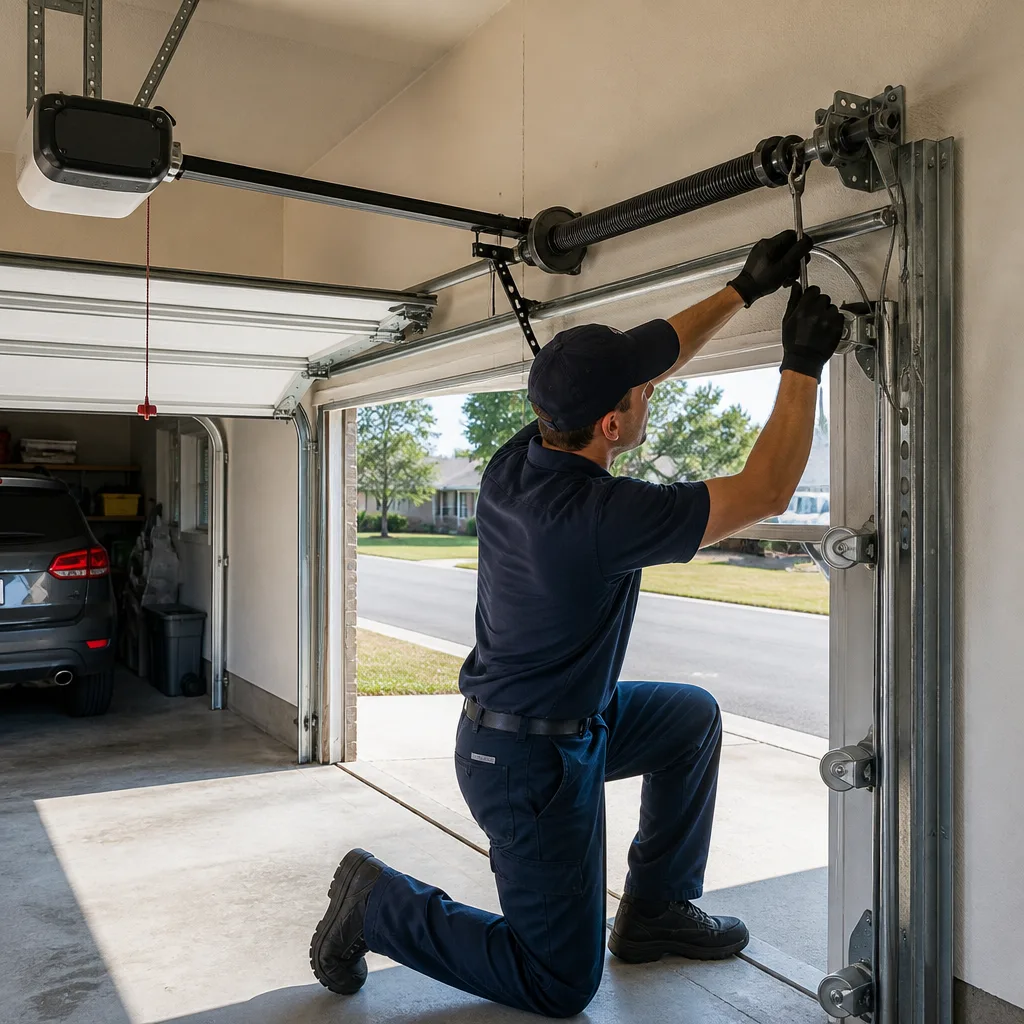 After
 Before
 After
 Before
 After